Wall Mount Toilets: A Modern Solution with Step-by-Step Installation & Key Benefits
·

·
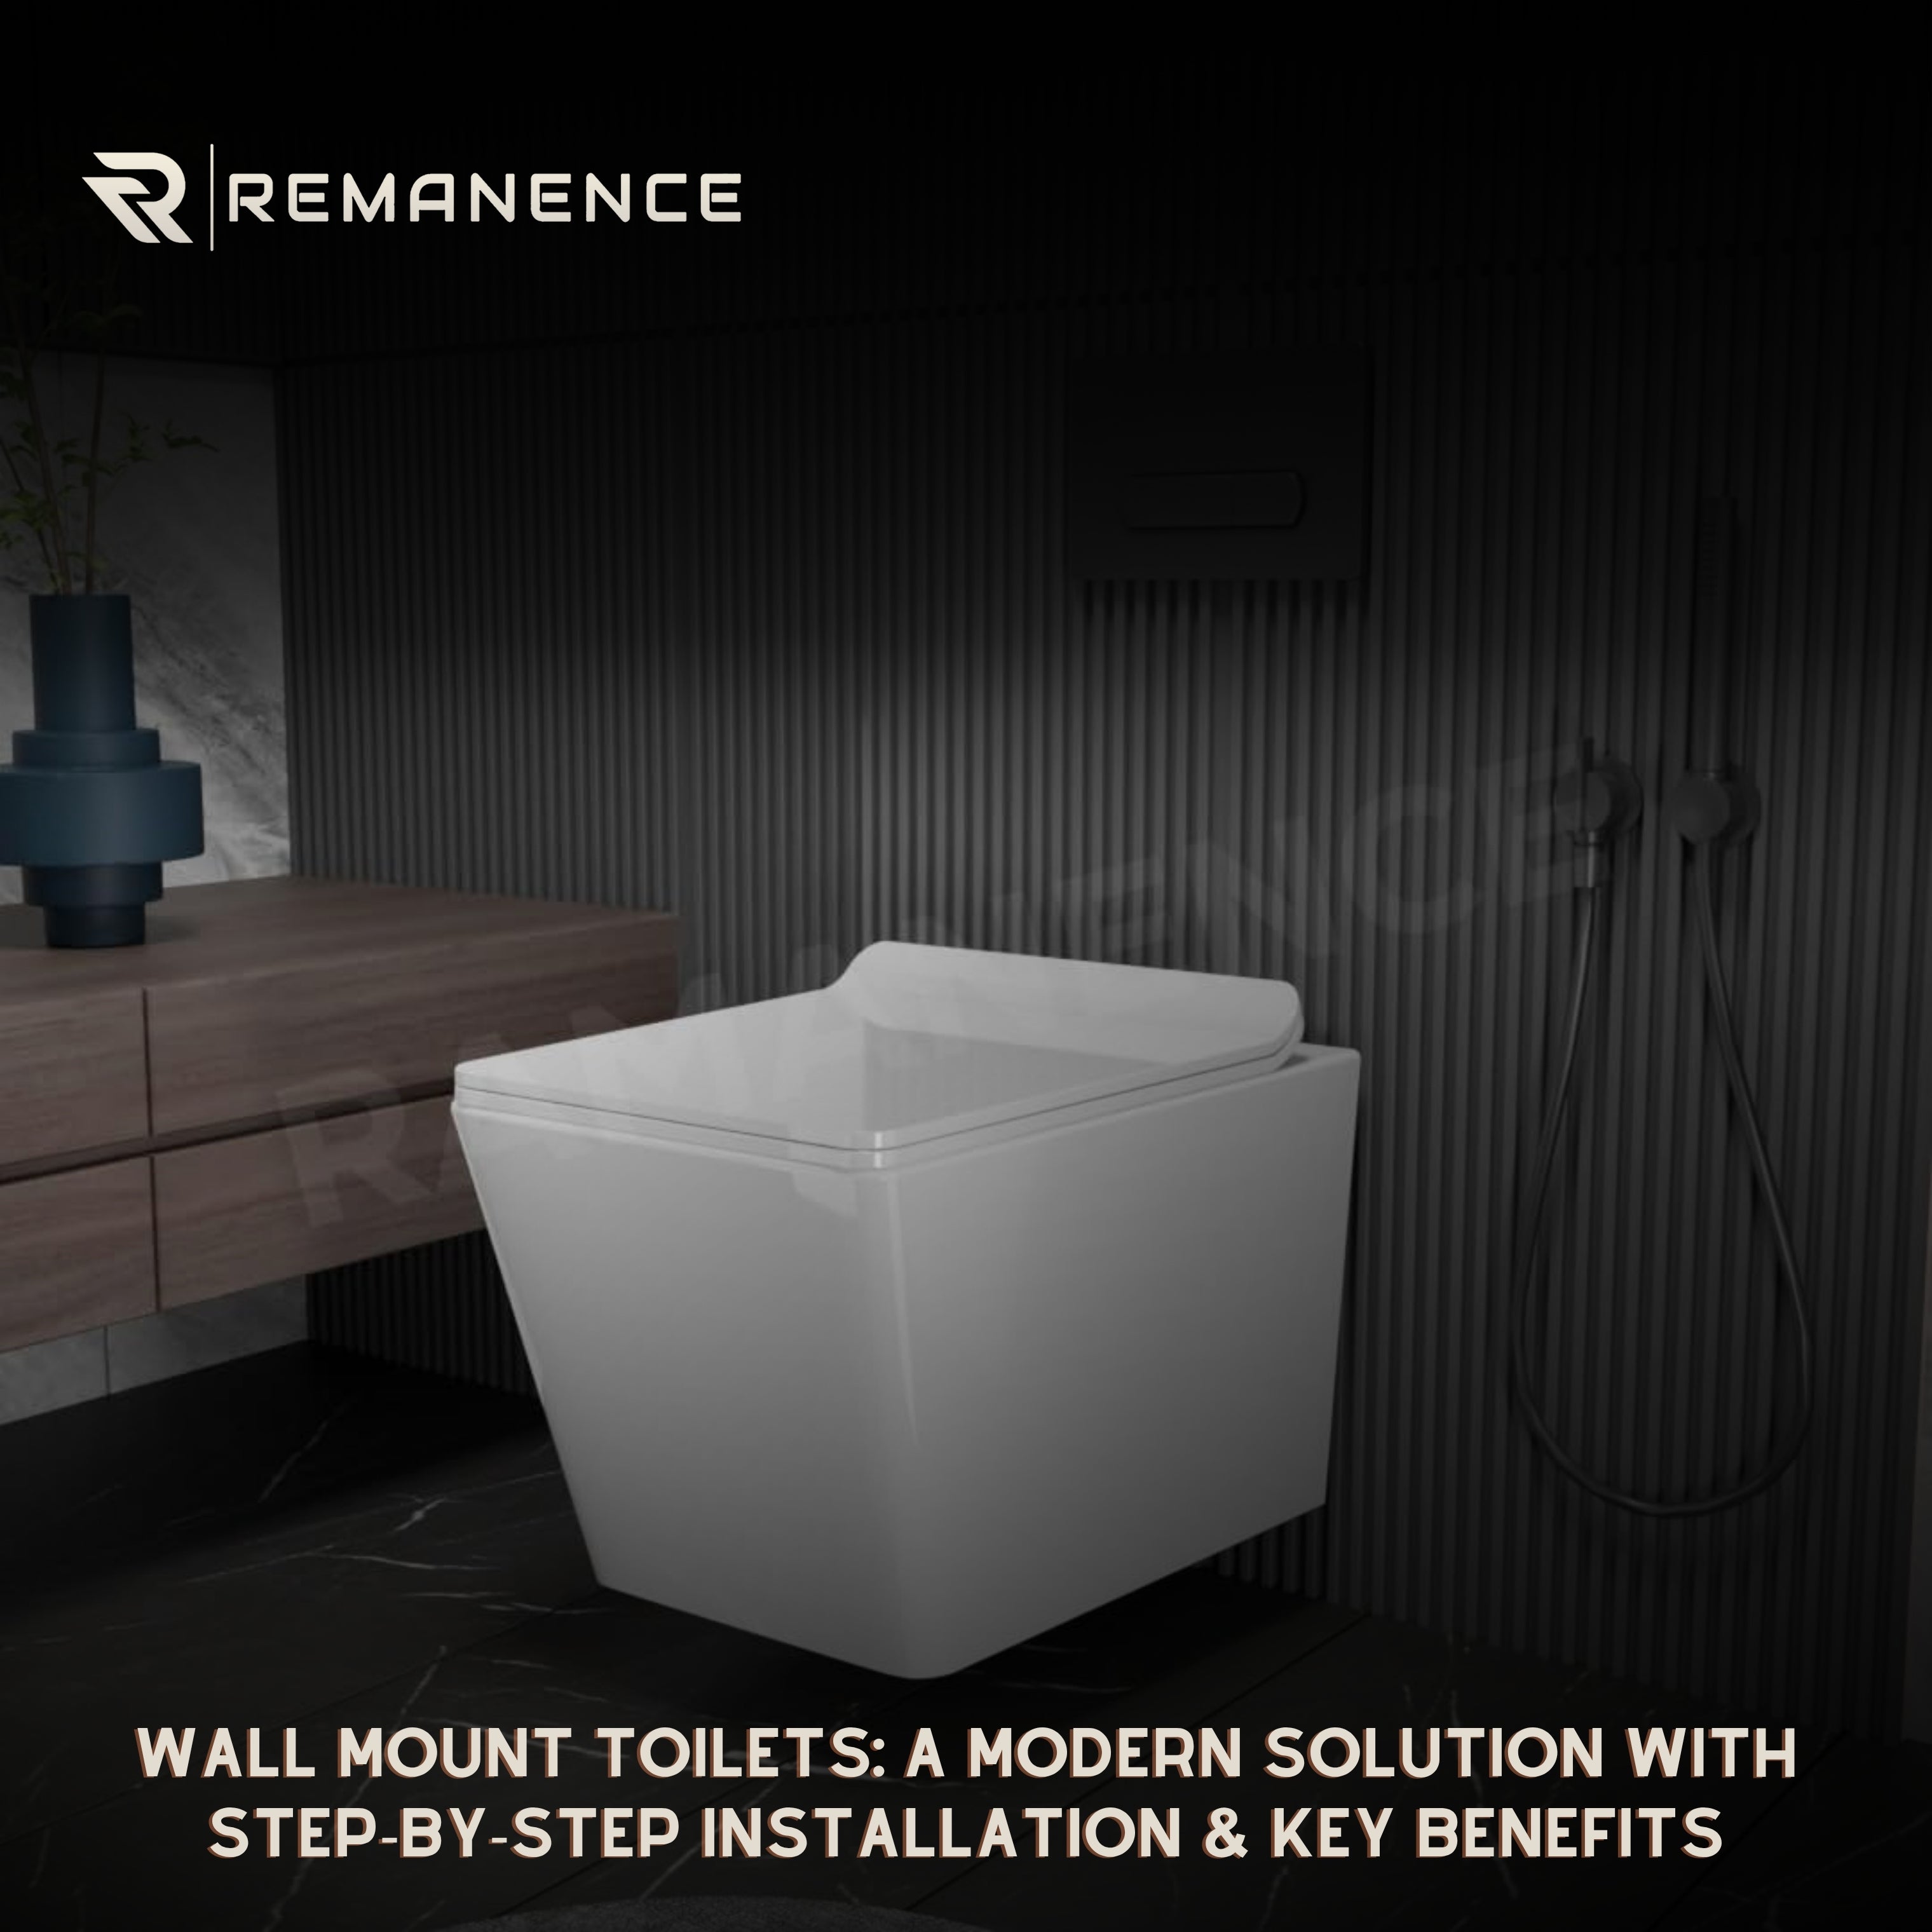
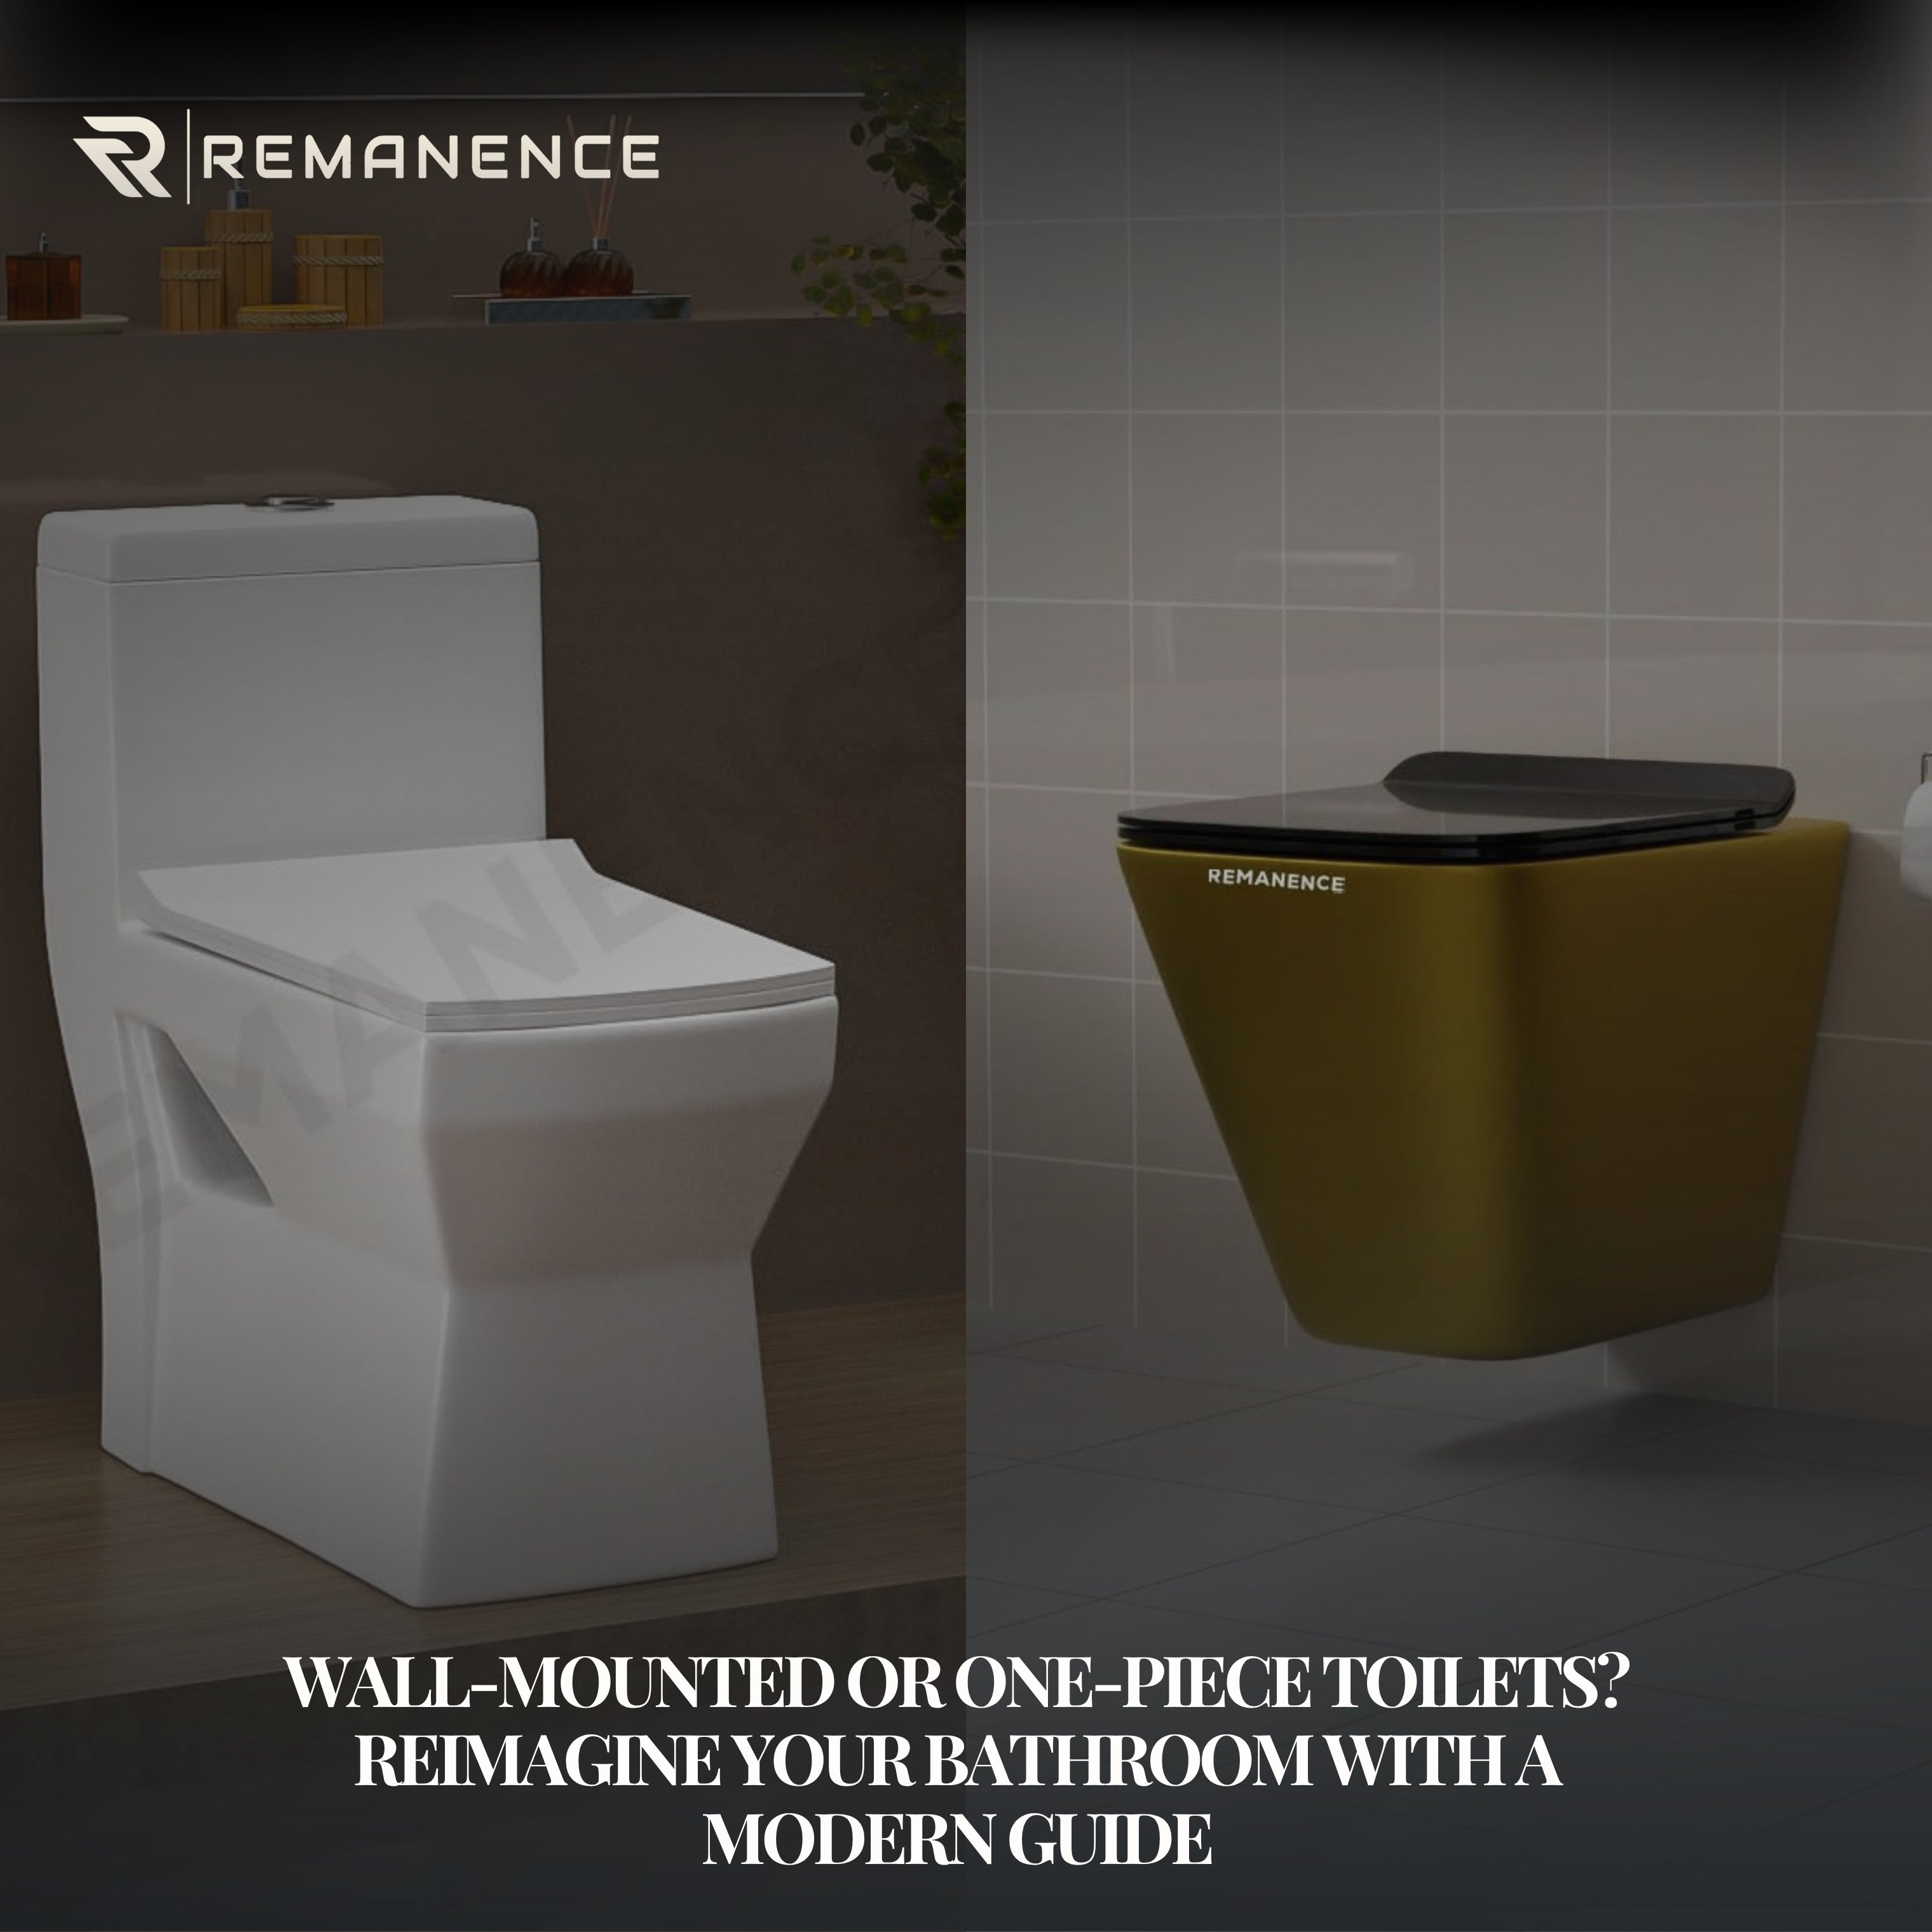
In modern bathroom designs, wall mount toilets are increasingly becoming a top choice due to their sleek look, space-saving nature, and improved hygiene. Unlike traditional floor-mounted models, wall-hung toilets are mounted directly onto the wall, with the tank concealed behind the wall. If you're planning a bathroom upgrade or working on a new build, this blog will guide you through the installation steps and explore the top benefits of choosing a wall mount toilet.
✅ Benefits of Wall Mount Toilets
1. Space Saving Design
Wall-mounted toilets are ideal for compact bathrooms. By hiding the cistern behind the wall, it gives a clean and minimalistic appearance while freeing up valuable floor space.
2. Modern Aesthetic
These toilets offer a seamless and contemporary look, elevating the visual appeal of your bathroom instantly.
3. Easy Cleaning
With no base touching the floor, wall-mounted toilets make cleaning under and around the toilet much easier, improving hygiene.
4. Adjustable Height
Unlike traditional toilets, wall-mounted options allow you to install the seat at a custom height to suit your comfort.
5. Reduced Noise
With the tank hidden inside the wall, the flushing noise is significantly minimized.
🛠️ Step-by-Step Guide: How to Install a Wall Mount Toilet
Note: This installation involves plumbing and structural wall changes. It’s recommended to consult a professional plumber or contractor for precise work.
Tools & Materials You’ll Need:
-
Wall-hung toilet unit
-
In-wall tank system or carrier frame
-
Drill, level, wrench
-
Screws, wall plugs
-
Silicone sealant
-
Adjustable spanner
-
Measuring tape
-
Pipe fittings
Step 1: Choose the Right Wall and Height
-
Select a strong load-bearing wall or a stud wall reinforced with a metal or wooden frame.
-
Measure and mark the desired height. Standard seat height is 15–17 inches from the floor.
Step 2: Install the In-Wall Carrier Frame
-
Fix the carrier frame to the wall and floor as per manufacturer instructions.
-
Ensure it is level and secure.
-
Connect the flush tank inside the frame with the water supply pipe.
Step 3: Connect the Drain Pipe
-
Attach the waste outlet pipe to the rear of the frame and align it to the bathroom’s existing drainage system.
Step 4: Secure the Flush Plate & Wall Panel
-
Once the cistern is installed, add the flush plate control unit on the wall.
-
Secure the plasterboard or tiling panel around the frame to conceal it.
Step 5: Mount the Toilet Bowl
-
Connect the toilet bowl to the drain outlet and fix it onto the metal frame using provided bolts.
-
Ensure the connection is sealed tight with gaskets or sealant.
Step 6: Test the System
-
Turn on the water supply.
-
Test flush to check for leaks and ensure smooth flow.
Step 7: Seal and Finish
-
Apply silicone sealant around the edge of the toilet for a clean finish.
-
Let it cure as per instructions before use.


